Secret book safe

OK, so if you follow me on Instagram you’ll have seen a sneaky preview of this project (along with a promise to get this post written last week, but, you know, life and stuff…) And here it is!

The idea for this actually came from an excellent book I bought big brother for Christmas, called “The Boys Book of Things To Make”.
image

If you have a little boy I can highly recommend tracking down a copy of it, it’s fab! Full of fun craft projects and aimed at just the right level for kids to get involved with.

But this book safe isn’t only a good project for kids, it’s actually quite a good idea to have around the house. My husband is already planning on hiding things (credit cards, passports, etc) in it when we’re away. I might have to make another one for him to avoid arguments 😉

For this project you will need:

One large, hardback book
Craft knife
Ruler
PVA glue
Paintbrush

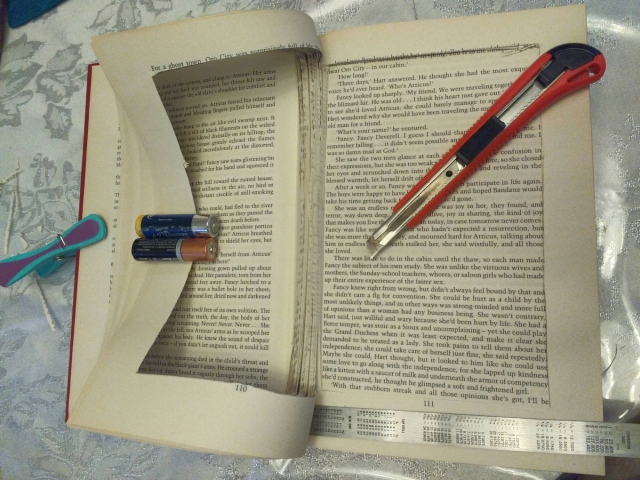
Open the book and flip passed the first few pages, the idea being that it’ll look like a regular book to a casual observer (this is hilarious if you’re 3 apparently!). Then with the ruler and craft knife you need to start cutting out the centre of the remaining pages. As a rough guide the outside edge of the text area is an ideal line to follow. You don’t want to cut too close to the edge of the pages otherwise your book safe won’t be strong enough to hold anything without buckling.

image

You won’t be able to cut through all the pages in one go, so find something heavy to weigh down the cut pages after you’ve turned them.

This is the long part, especially if you’ve chosen a 600+ page book… 😉 So if you’re doing it with a little person, don’t be surprised if they lose interest a little at this point.

Don’t worry if your craft knife slips a little while you’re cutting, as long as it isn’t on the first page you won’t be able to see it when you’re finished.
image

Continue until there are roughly 10 pages left at the end of the book. Then put down your craft knife and retrieve your small person for the next fun part 🙂

The final part of the project is to glue the cut pages together to create a solid box in which to hide your treasures. Pour a little of the PVA glue into a dish and water it down with slightly less than the same amount of water. Mix until you have a thinned glue mixture and paint it liberally onto the insides and outsides of the cut pages of your book.
image

Place something non stick between the cut and glued pages and the first pages in the book (you don’t want them to stick together otherwise it defeats the purpose somewhat!). Close your book and weigh it down to dry, this will help the pages to stick.

image

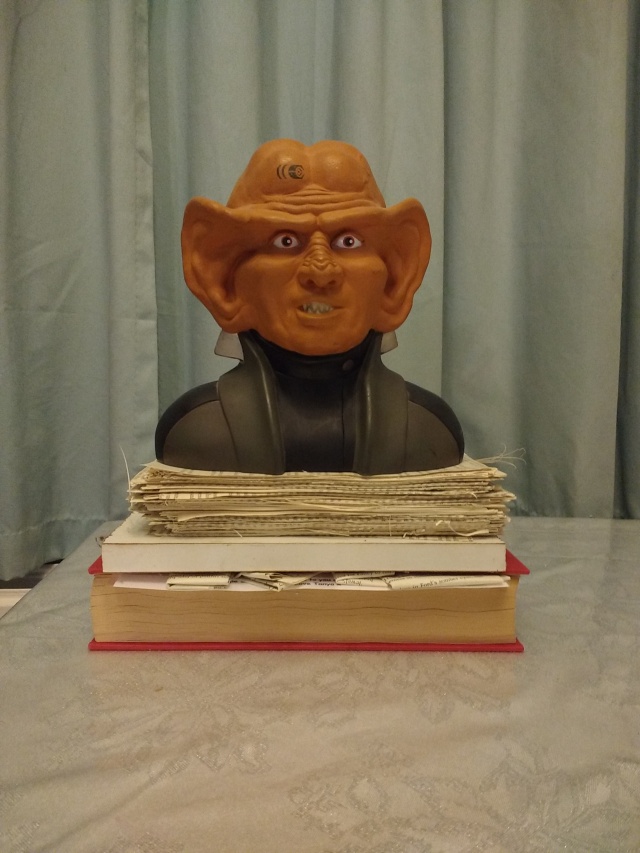
Meet our ferengi. He’s full of pennies so is nice and heavy for the job!

Leave overnight and repeat the gluing process if necessary. And now you have your very own secret hiding place!

image

Chilly mornings just got cosier!

Well, for one small person anyway 😉

Big brother has been in need of a new dressing gown to keep him warm on chilly mornings. As in, he was still squeezing into one meant for a 1 year old… So ages ago we chose a lovely beach towel from IKEA (when it was in the sale, obviously 😉 ) and I intended to turn it into a new ‘big boy’ dressing gown.

But then the towel got put away and it slipped down the to do list. Until this week that is! I actually intended to start on Wednesday but I forgot I hadn’t prewashed the towel, so that had to come first. No point putting in all the effort of making something, just to have it shrink or warp in a strange way on the first wash.

So by Friday I finally had that magical combination of prepared fabric, the desire to sew, and little brother napping. Project dressing gown was a go!

I drafted a quick pattern based on big brother’s measurements, with some growing room to ensure it lasts him a while. I also used every shortcut I could think of to make it as quick and easy a project as possible.

For example:
* there are no side seams as I cut the whole body from the width of the towel with the arm holes cut out

image

* the loops to hold the tie are the offcut pieces of the selvedge edge, just trimmed to the seam line.

image

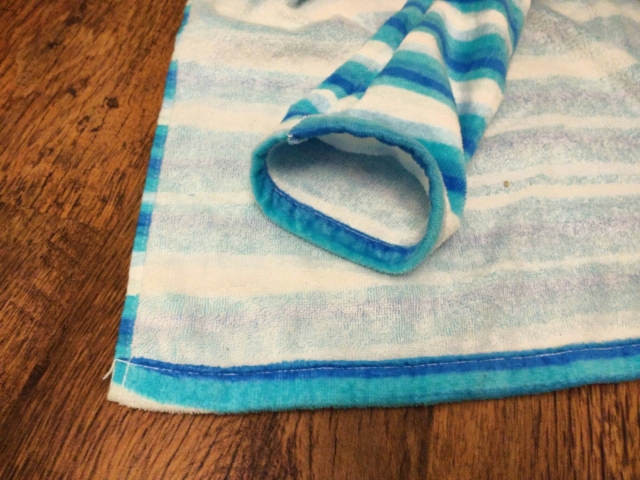
* I used the hemmed edges of the towel for the bottom hem and the sleeve ends so there was no hemming needed.

image

So with minimal sewing we ended up with:

image

One very grown up looking little man! And it must be comfy because he said “mummy, I really love my new dressing gown. I’m going to wear it all day till bedtime!” Which, I think, is about as big a compliment as you can get from a three year old 😀

Now, I haven’t included a copy of my pattern here, would you be interested in it? Comment below and let me know, and if you ask really nicely I’ll try to find the time to do it! 😉 haha

Tutorial: Kids Scribble Drawstring Pouch

Now that young sir is getting older and more interested in such things, I’ve been trying to come up with fun crafts for the two of us to do together. This one is really simple, and cheap, so you can easily make a whole load of them and ring the changes.

For the kids part you will need:

  • Plain fabric, natural fibres will hold the colour best. I used the unbleached cotton from IKEA, at  only £2/m it has become my go to fabric for so many projects!
  • Fabric markers

For the adult part you will need:

  • Scissors
  • Thread, either coordinating or contrasting, is entirely up to you.
  • Sewing machine, or a needle if you want to do it by hand.
  • Some form of ribbon or string for cinching the bag closed.

(Note: I say adult part, but if you have slightly older kids they might also enjoy this part of the project, with some guidance and supervision from you!)

First of all decide how big you want your bag to be. We went for a rectangular bag of 18cm (width) x 25cm (height) so I cut my piece of fabric 40cm (width) x 30cm (height).

Then comes the messy part! I highly recommend using old newspaper or cardboard under your fabric as the pens can leak through and you won’t want it on your floor or table! Then just grab a pen and have at it! I drew some shapes and objects (I was under strict instructions what to draw) and young sir coloured them in.

image

When we were finished I ironed the fabric to set the ink and make it permanent. If you skip this stage the ink will come out in the wash, which you could use to your advantage, for example draw an outline of something, set it, then the kids can colour it in differently each time and it will wash out.

Next I made the casing for the ribbon along the top of the bag. My ribbon is 15mm wide so I made the casing 20mm to make sure there was going to be plenty of room. I made it very simply by folding over and ironing down a section about 5mm wide from the top raw edge. Then I folded over the 20mm section and ironed again. By using the ironing technique you can save yourself time and effort as the fabric needs minimal pinning and only one line of stitching to create a casing with enclosed raw edges.

At this stage I inserted the ribbon as I find it easier to pull it through in a straight line, rather than trying to work it round a bend once the side seams are sewn.

image

Then sew up the side seams. You have a couple of options depending on what kind of finish you want, I decided to sew a double line of stitches with the raw edges folded over, but you could also use a single line or do a French seam. I used a French seam to sew up the bottom of the bag as that’s the seam that will be under the most stress when the bag is full. To do this I sewed the bag closed with the wrong sides together, turned it inside out, clipped the excess seam allowance and sewed again with right sides together.  For more in depth instructions on French seams check out my tutorial here.

image

(I switched to red thread so it would be easier for you to see where I sewed.)

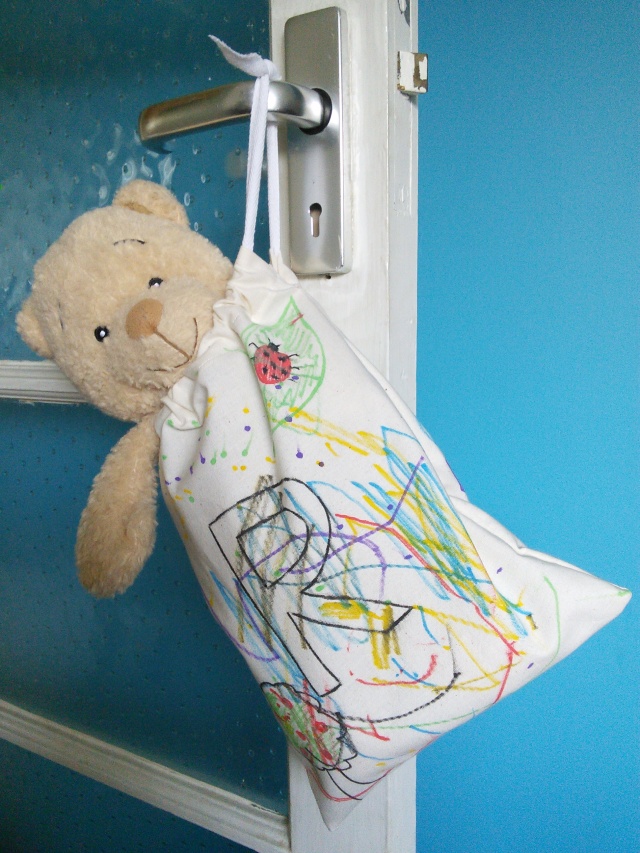
Then simply turn your bag right side out, tie a double knot in the ribbon, pack your teddy bear (or whatever treasures need carried!) and you’re good to go!

image